Bitdefender Antivirus for Mac
Bitdefender Antivirus for Mac
Bitdefender Antivirus for Mac
First of all, congratulations for using the best cybersecurity software in the world, Bitdefender.
To install The New Bitdefender Antivirus for Mac on your system, you will need to:
1. Go to your Bitdefender Central account
NOTE: If you don’t have an account already, please sign up for one.
• Prior to the installation of Bitdefender Antivirus for Mac, please make sure that you have a Bitdefender Antivirus for Mac subscription in your Central account so the product you install can retrieve it’s validity from your account.
• If you have an older license key for the previous Antivirus for Mac product, you can find how to transform it into a Bitdefender subscription, in this article, here.
2. Select the My Devices panel.
3. In the My Devices window, click INSTALL Bitdefender.
4. In the newly opened window, click on the Download button.
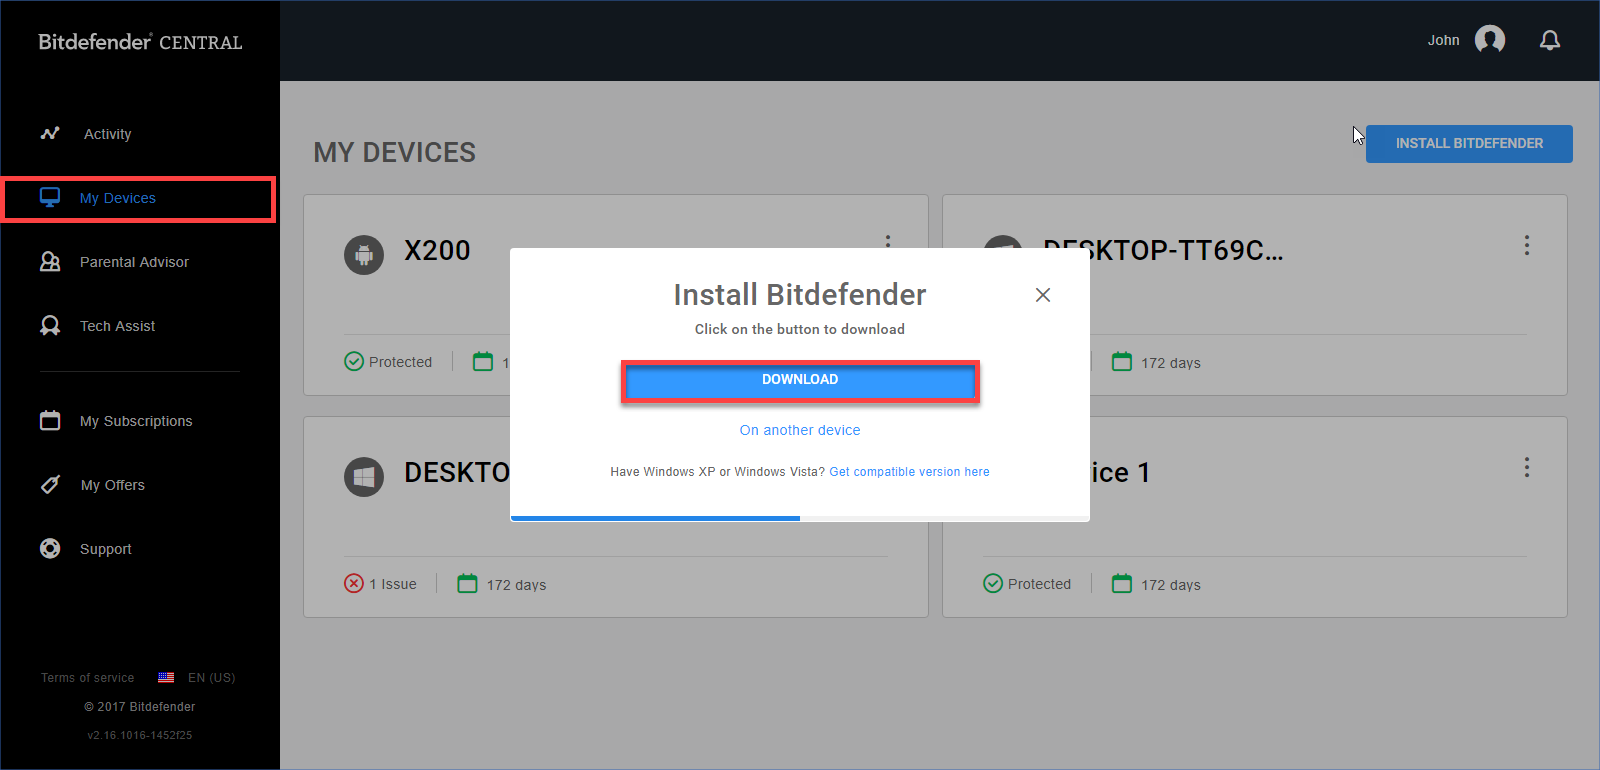
NOTE: If you want to install Bitdefender On another device, select this option (this way you will send an email with the installation agent to an email address of your choice).
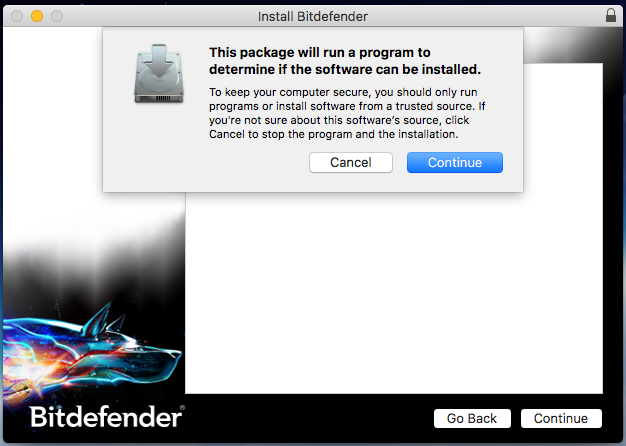
5. An agent will be downloaded on your system, respectively in the Downloads folder. Please double click on this agent file with the .pkg extension and follow the on-screen instructions.
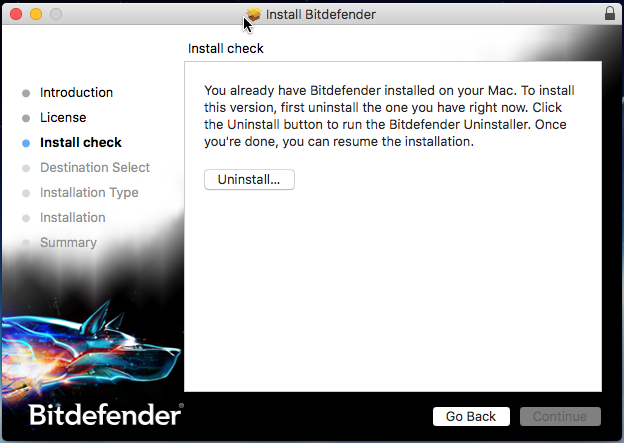
6. Click on the Uninstall button in order to remove any previous Antivirus for Mac version (If you install Antivirus for Mac for the first time, the uninstall button will not appear).
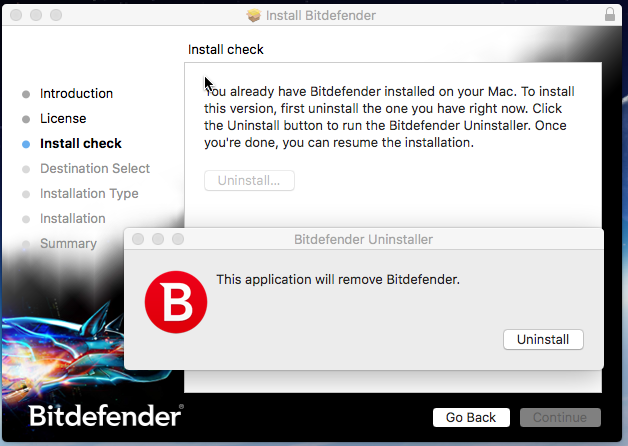
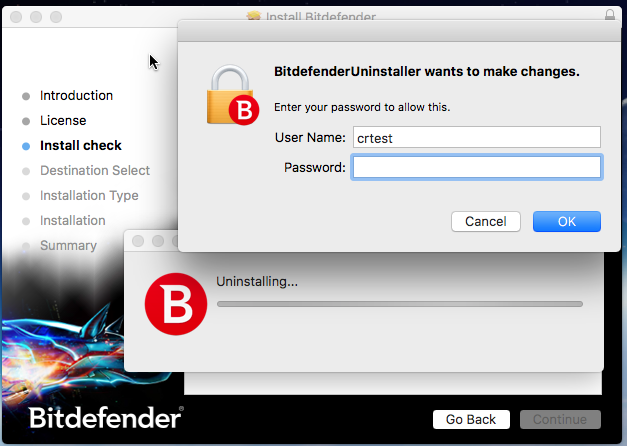
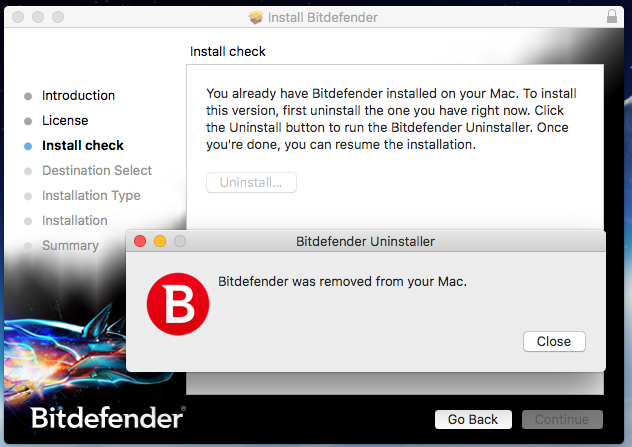
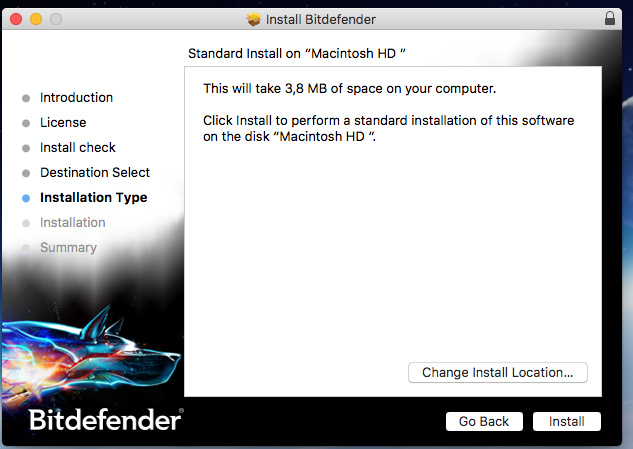
7. At the end of the agent installation, a small window will appear and Bitdefender Antivirus for Mac will automatically download and install.
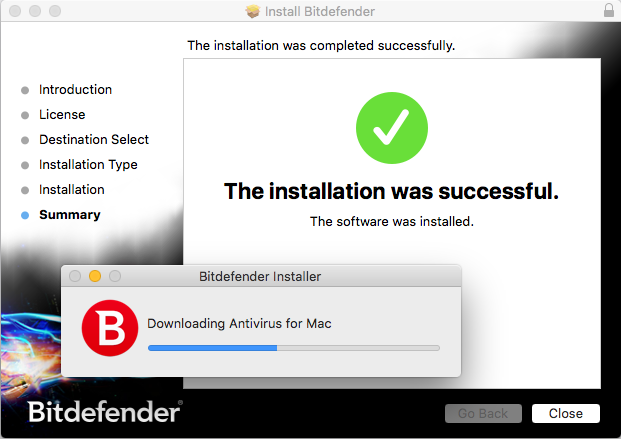
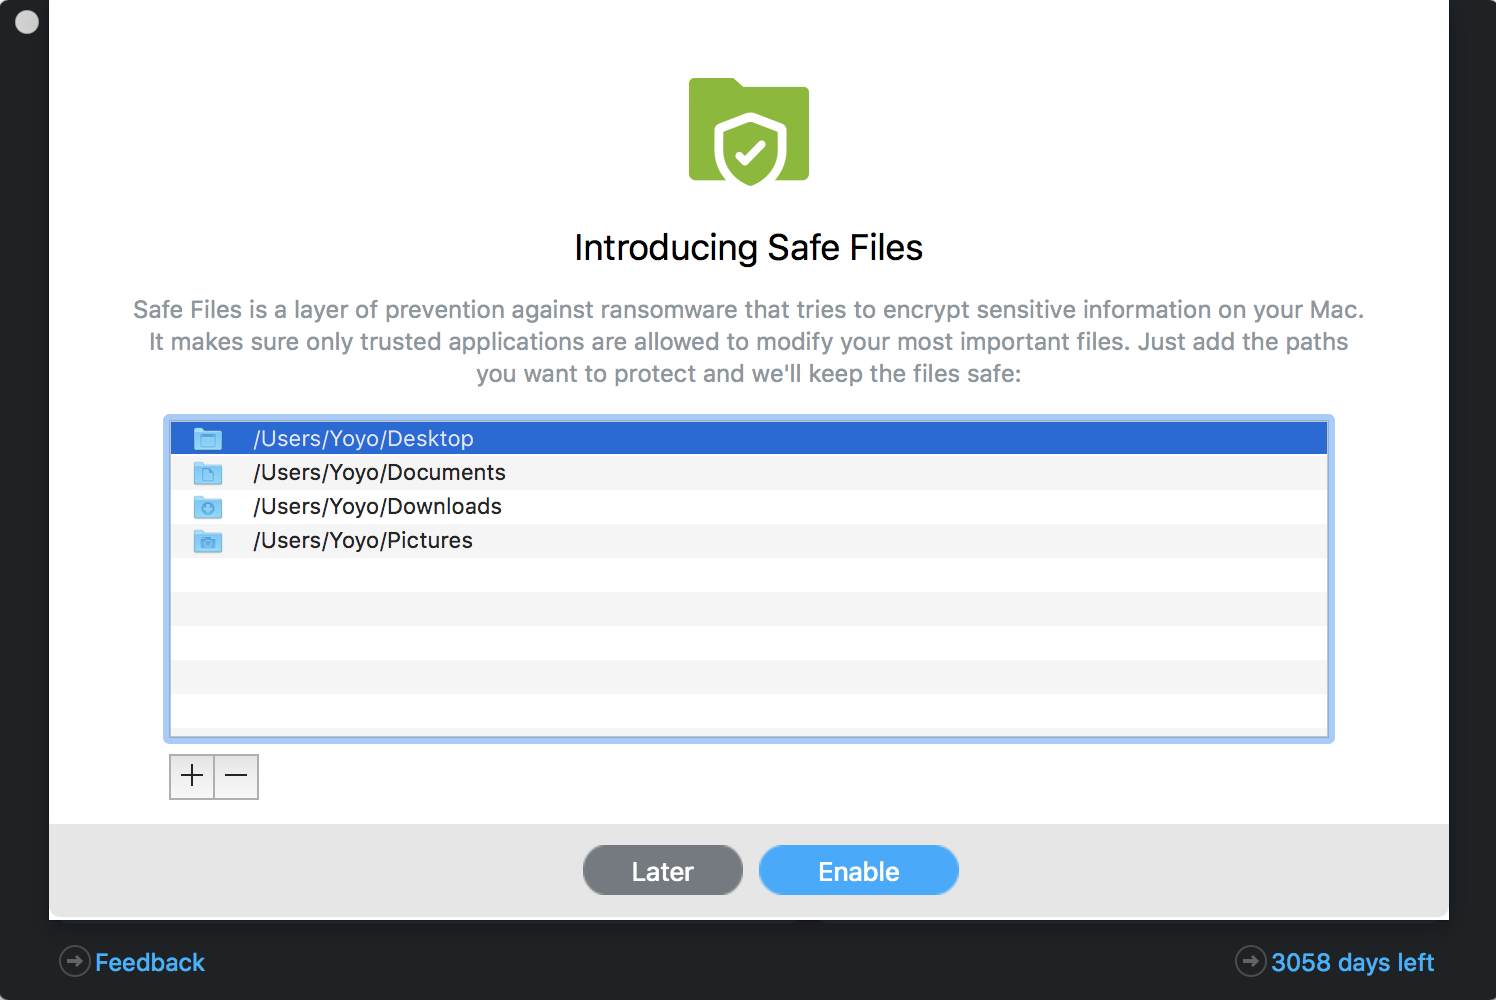
8. After the installation is done, the main Antivirus for Mac interface will display the following window: Introducing Safe Files. Click on Enable.
NOTE: Safe Files protects your sensitive files against ransomware. To protect more folders, click on the + in the lower left side of the window and select their corresponding paths.
9. Next, the main interface will display another window: Introducing Time Machine Protection. Click Enable Protection to protect your backups.
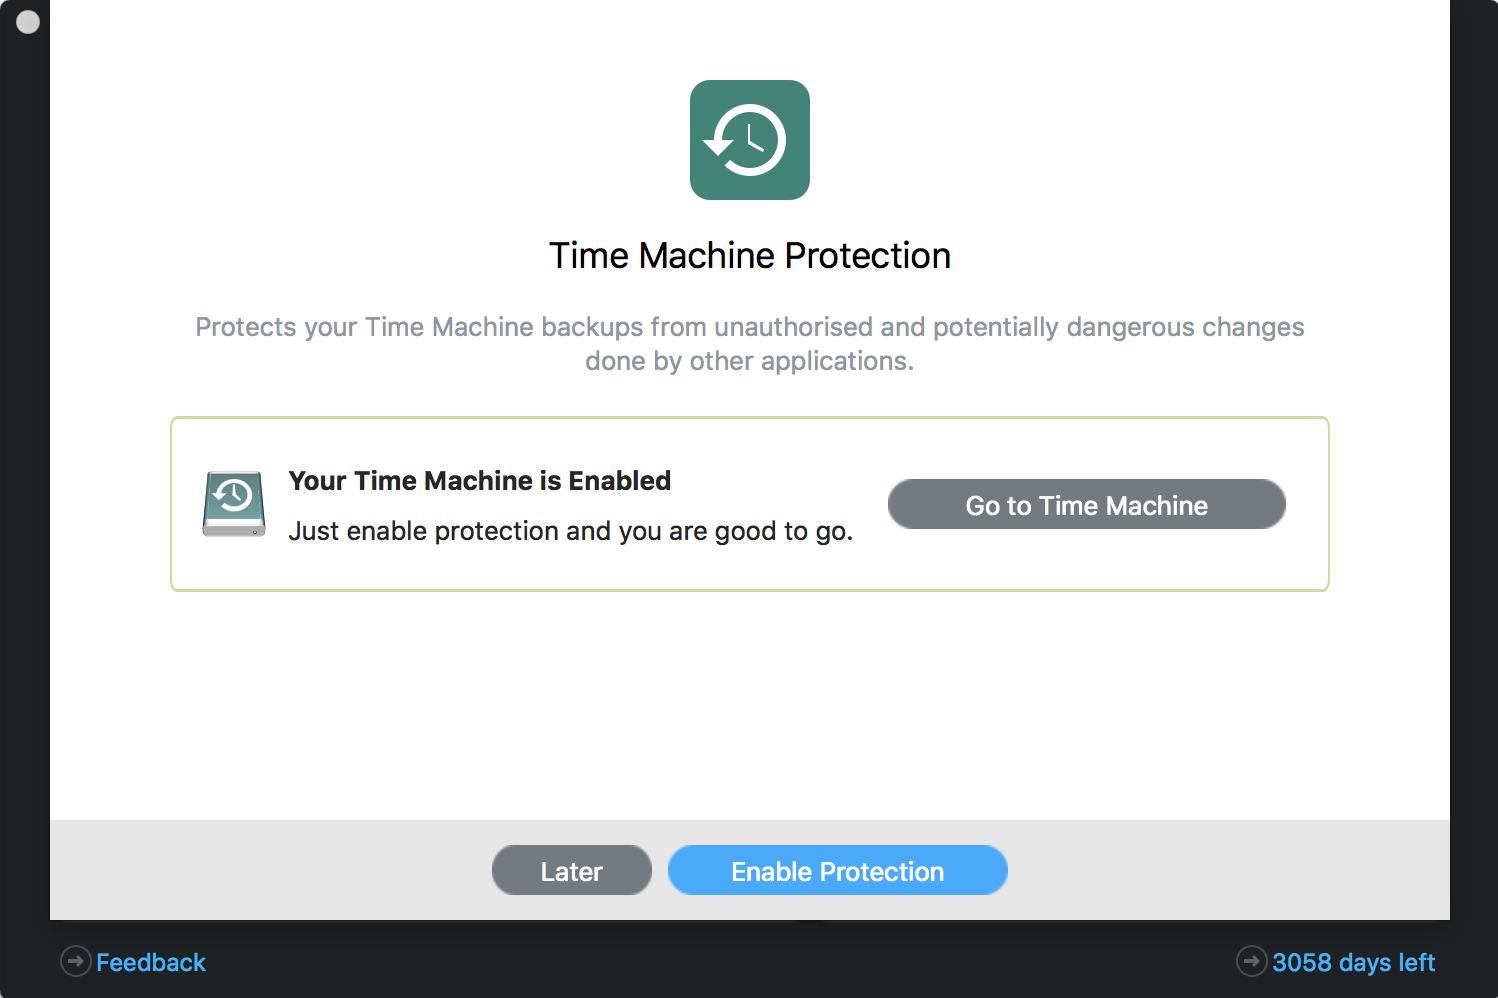
NOTE: This window will appear only if you are installing Antivirus for Mac for the first time. The next installations will not display this window. In this case, you manually enable Time Machine Protection from Preferences (see the screenshot on step 9).
NOTE: If you don’t have the Time Machine enabled you may choose Go to Time Machine and turn it on.
10. A new message will appear, informing you that Safe Files is Enabled and Time Machine Protection is enabled.
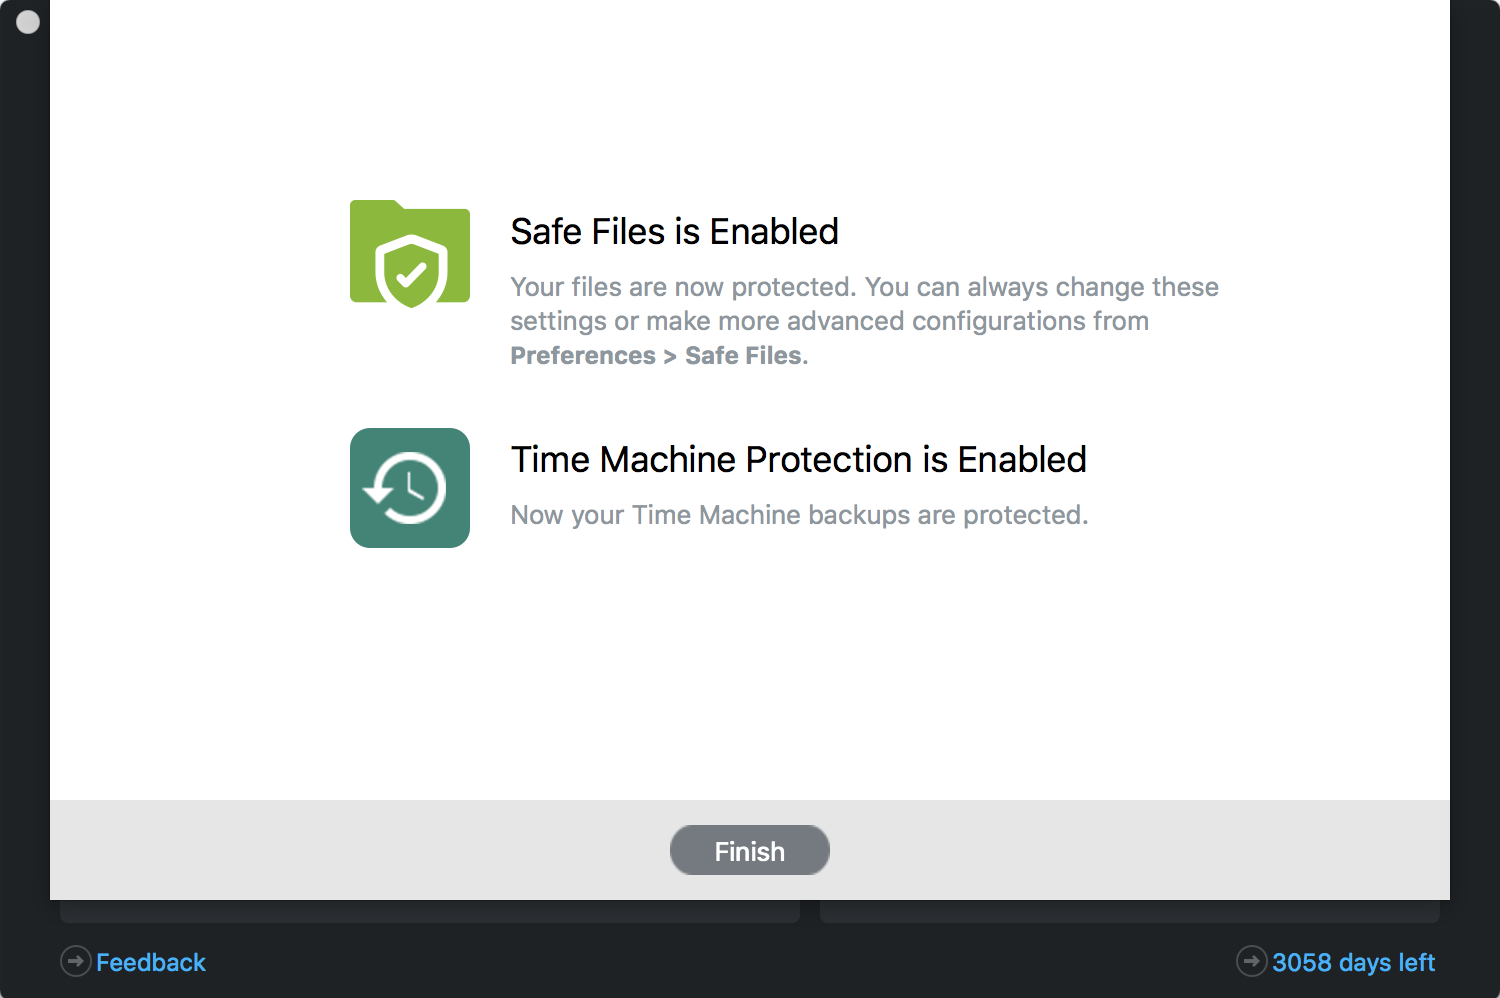
You can check these settings in the Bitdefender Preferences under the Protection and Safe Files tabs.
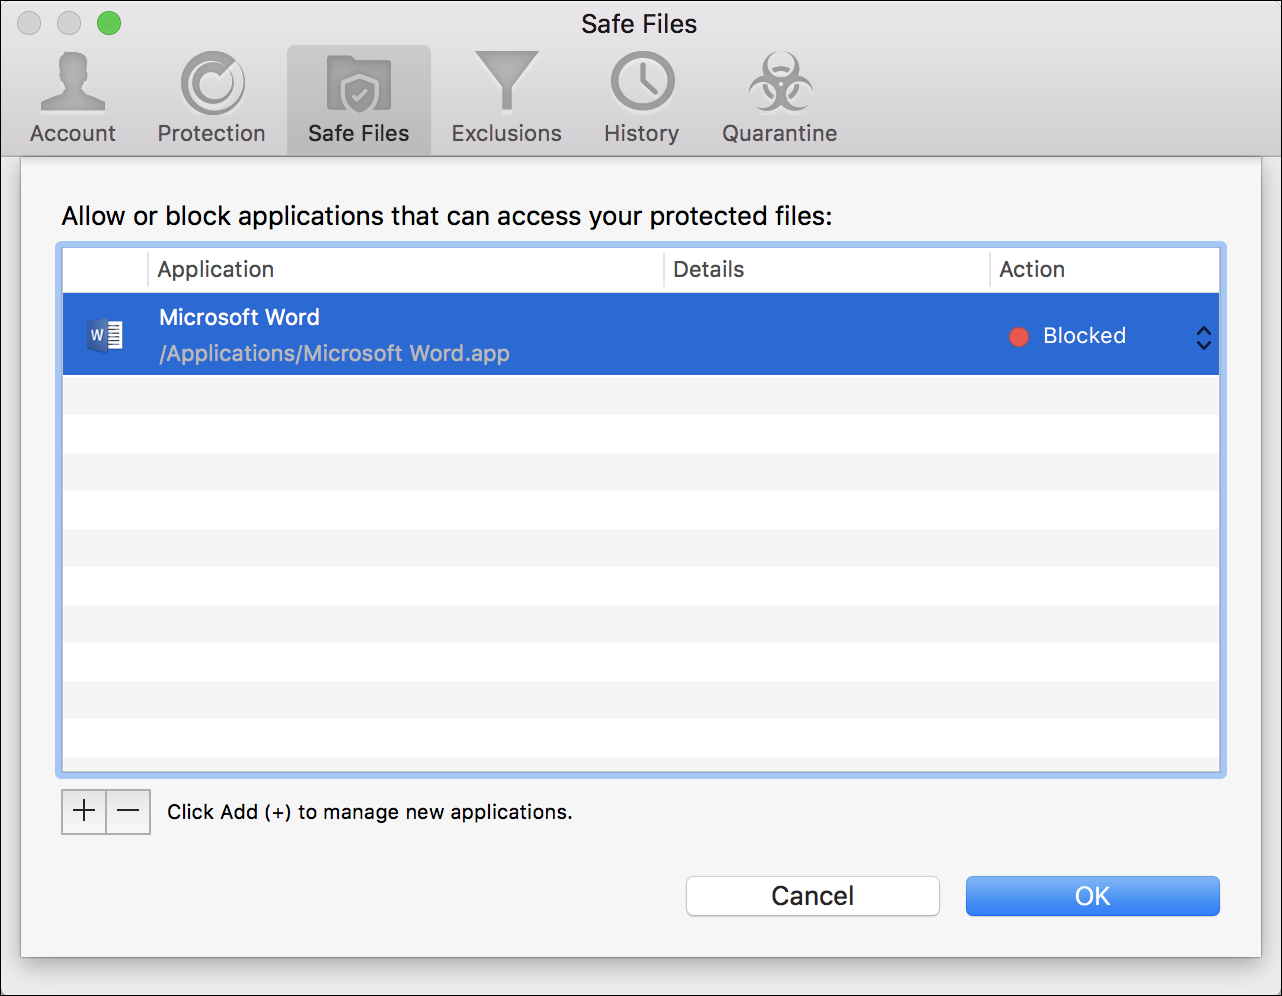

11. Now you have both your Mac and your Time Machine backups protected.
Can’t find a solution for your problem? Contact Our bitdefender technical team at 1-888-885-6488 and we will answer the question or concern in the shortest time possible.
How to install Bitdefender 2019
Bitdefender Antivirus Plus 2019-Best Antivirus for Windows
